
Home Improvement Chronicles: Rockwool Insulation Project
When it comes to home improvement, there is always something new to tackle. Recently, we discovered that our insulation contract only covered the attic and a few walls, leaving the rest of the house lacking in proper insulation. This prompted us to take matters into our own hands and embark on a DIY project to add rockwool insulation throughout the entire house. In this blog post, we will take you through our journey as we strive to enhance our home's comfort, energy efficiency, and overall value.
Discovering the Insulation Gap
Upon closer inspection of our home, we unearthed a surprising reality – our existing insulation was far from comprehensive. We initially believed our home was adequately insulated; however, a detailed examination revealed that large portions of our house were missing crucial insulation. This revelation was especially troubling given our commitment to maintaining an energy-efficient and comfortable home environment. With some areas well insulated and others entirely overlooked, the disparity created uneven temperatures and energy inefficiencies. Faced with this dilemma, we understood that immediate action was essential. The quest for a more uniformly insulated home became inevitable, pushing us toward a significant but necessary DIY project. Our determination to fill these insulation voids marked the beginning of a journey to not only improve our home's thermal efficiency but to also embark on a path toward sustainable living. This discovery phase was a crucial step, laying the groundwork for our ambitious project to ensure every corner of our home was properly insulated.
Why Rockwool Insulation?
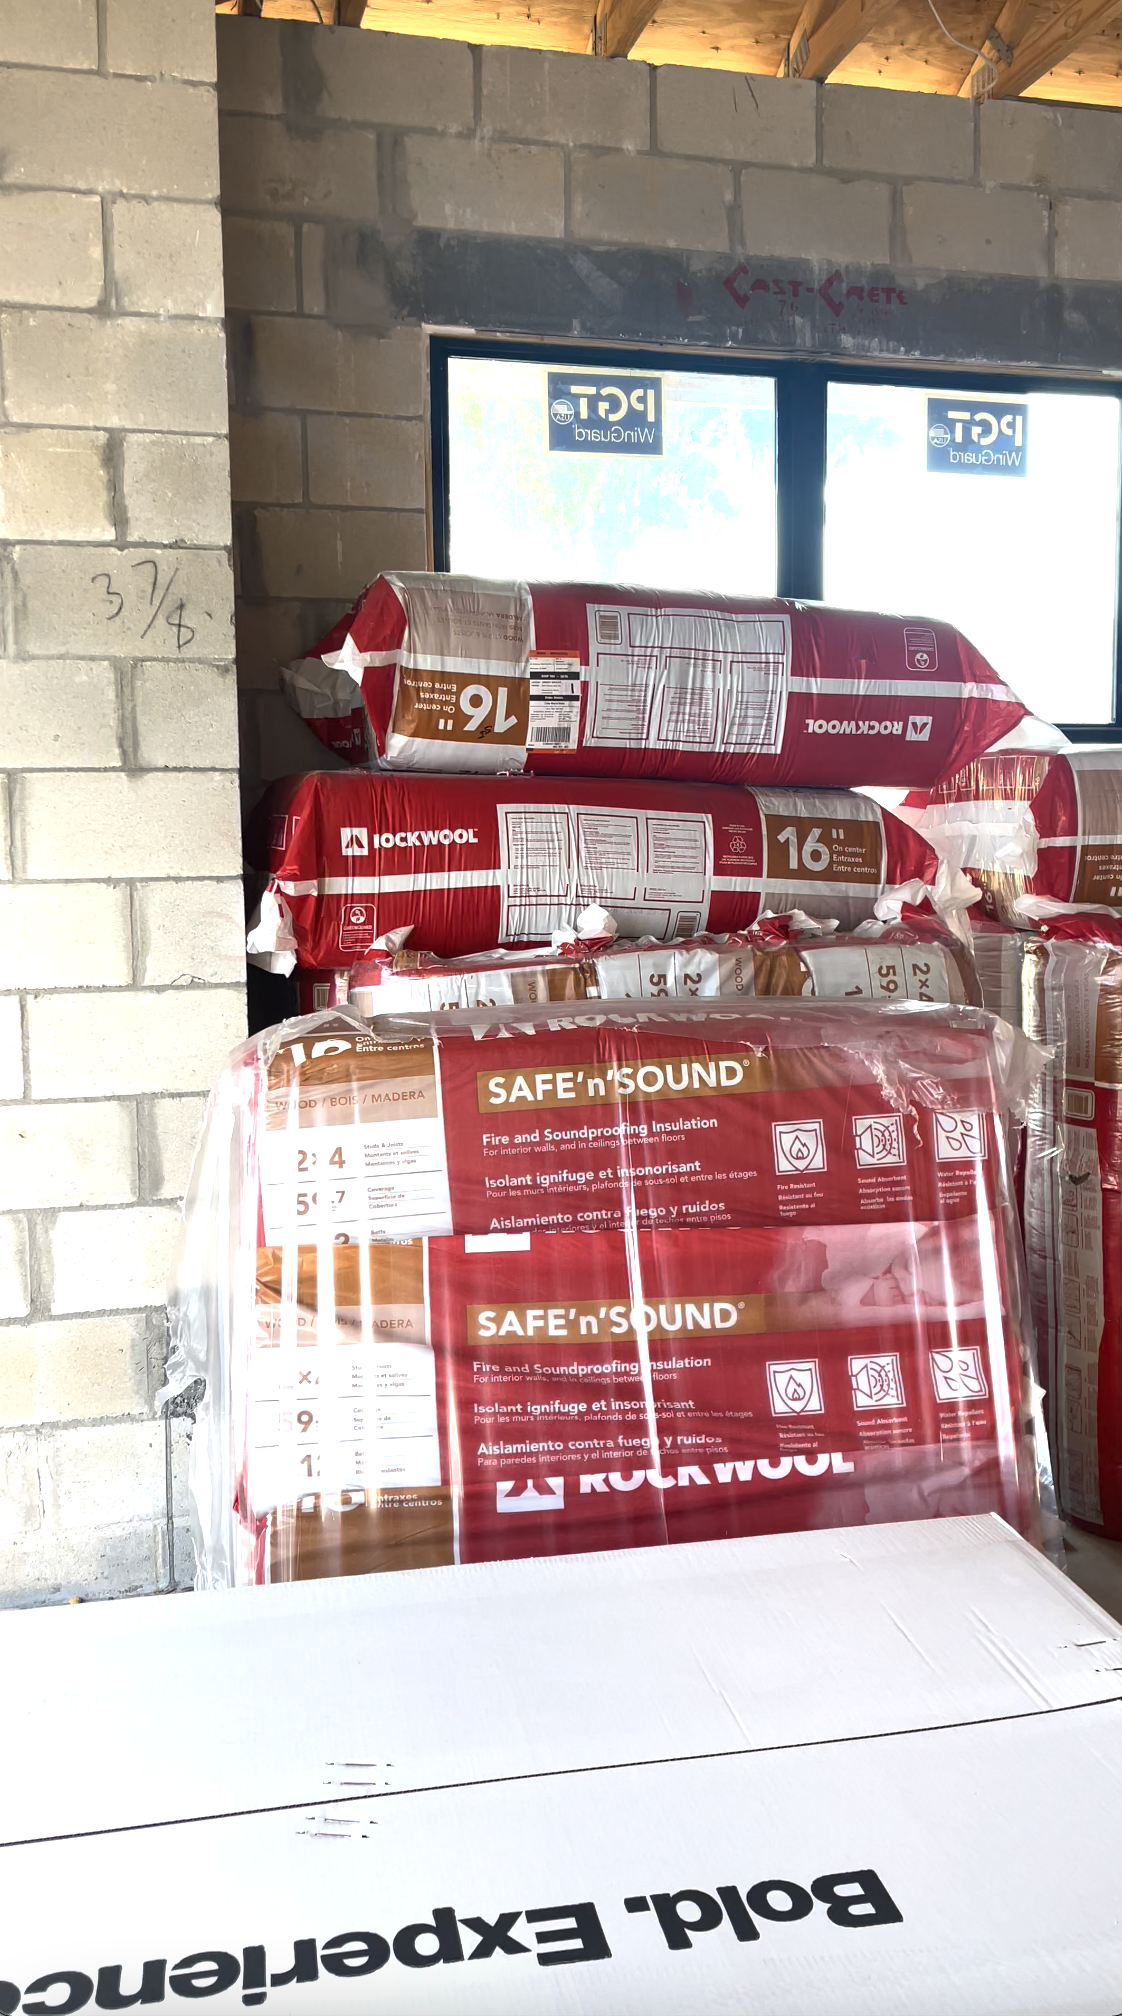
Choosing the right insulation material was pivotal to our project's success, and after much consideration, rockwool emerged as the clear winner. Known for its outstanding thermal and acoustic insulating properties, rockwool, or mineral wool, is derived from natural basalt rock and steel slag. This composition not only contributes to its fire resistance but also to its resistance against moisture and mold, ensuring a healthier home environment. Moreover, rockwool's robustness means it doesn’t easily settle over time, preserving its insulating effectiveness for years to come. Its environmental benefits also aligned with our sustainability goals, as rockwool can significantly cut down on heating and cooling demands, leading to a smaller carbon footprint for our home. We were particularly drawn to its ease of installation and its ability to fit snugly between studs and joists, promising comprehensive coverage without the gaps typically found with other insulation types. This made rockwool an unrivaled choice for us, promising a blend of durability, efficiency, and eco-friendliness.
Preparing for the DIY Journey
Embarking on this DIY adventure required thorough preparation to ensure everything ran smoothly. Our first step involved a deep dive into the world of rockwool insulation, familiarizing ourselves with its characteristics, benefits, and installation techniques. Knowledge in hand, we compiled a list of all the necessary tools and protective gear needed for the job. Safety was our top priority, so we made sure to include items such as gloves, masks, and goggles to protect against the fibrous material of the insulation.
Next, we meticulously mapped out our home, identifying key areas that needed insulation and measuring spaces to determine the quantity of rockwool required. This step was crucial for avoiding unnecessary trips to the store and ensuring we had all materials ready at our fingertips. We also allocated specific weekends for the project, organizing our personal schedules to dedicate ample time for the installation process.
To further bolster our readiness, we watched several tutorial videos and read detailed guides on rockwoom insulation installation. These resources provided valuable insights and tips, from cutting the insulation to fit odd-shaped spaces to the importance of ensuring a snug fit between framing members. Equipped with a solid plan, the right tools, and a determined mindset, we were poised to transform our home's insulation landscape.
The Installation Process Unveiled
The journey of installing rockwool insulation unfolded with a blend of determination and teamwork. My husband took the lead, expertly navigating the nuances of fitting the insulation snugly between the frames, while I jumped in to assist, ensuring no corner was left untouched. Together, we maneuvered through each room, methodically cutting and placing the rockwool to cover every exposed space. The transformation was tangible, as each piece of insulation promised to bridge the gaps in our home's thermal barrier. Despite the physical demands of the work, there was something deeply satisfying about physically enhancing our home's comfort and efficiency with our own hands. Each section of rockwool secured into place felt like a step closer to a more energy-efficient and quieter home. The process, though challenging, was a testament to the power of DIY spirit and the potential for homeowners to make impactful improvements on their own terms. With each day's progress, we grew more adept at handling the material and more excited about the impending benefits of our efforts.
Anticipated Benefits and Next Steps
As our rockwool insulation project approaches its final stages, the anticipation of enjoying a more energy-efficient home grows. We're looking forward to seeing a noticeable decrease in our energy bills, thanks to the improved thermal regulation the insulation provides. This means our heating and cooling systems won't have to work as hard, leading to lower energy consumption and costs. Another expected perk is the enhancement of our living space's acoustic comfort. By reducing noise transfer, our home will become a serene oasis, allowing for peaceful relaxation and undisturbed sleep. The comprehensive insulation will also contribute to a more uniform temperature distribution throughout the house, eliminating cold spots and making every room more comfortable to occupy.
As we wrap up this project, our sights are already set on what's next. The success and satisfaction of completing this significant improvement have fueled our enthusiasm for tackling more projects. Our aim is to continue making thoughtful upgrades that elevate our home's functionality and aesthetic appeal. With a list of potential projects in mind, we're excited to continue sharing our journey of transforming our living space into the dream home we've always envisioned. The journey of home improvement is an ongoing one, and we're eager to embark on the next chapter with fresh ideas and renewed vigor.